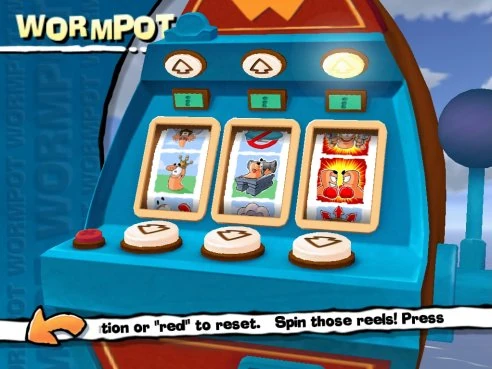
WormPot Options[]
Example:
Name (If applicable, the only reel it shows up on. If no parenthesis, it means
this option is available on all three reels.)Short Description
Empty Reel[]
No added Wormpot option.
Super Explosives[]
Explosive weaponry is more powerful.
Super ClustersWeapons that release exploding clusters become more powerful.
Super AnimalsAnimal weaponry is more powerful.
Super FirearmsGun weaponry (like the Shotgun) is more powerful.
Super Hand-to-HandMelee weaponry is more powerful.
Crates Everywhere
All available Crate types appear during each intermission between each turn,unless many are already on the ground. Similar to Crate Shower Effect.
Double DamageAll weapons can do up to twice as much damage as before.
Crate Drops Only (1st)You can only collect useable weapons from Weapon Crates.
Max Fall DamageFalling (and landing) will do a lot more damage than usual.
Energy or Enemy (1st)
Every worm starts out with 1 Health. You decide whether you should go and
collect the Health Crates spread around, or the Weapon Crates, to kill thealready weak enemy.
Wind Affects All
All weapons become highly effected by the wind speed. Try using this inconjunction with a Concrete Donkey!
Max Health DropsAll Health Crates will give you 100 extra health.
No CowardsRetreat Time is set to 0 seconds.
Specialists (1st)Each worm on your team will have a different weapon set.
Worms Only Drown (1st)
Worms have infinite Health, the only way to kill them is to knock them in thewater.
Vampire (1st)
Your first worm in your team is a vampire. The worm will heal half the damagethey do, and sometimes heal small amounts of damage each turn automatically.
Low GravityWorms can jump higher and farther. Weapons will also knock them back more.
Wind Affects GunsGuns (like the Shotgun) will be strongly affected by the wind. Have fun aiming!
No Blimp ViewSelf-explanatory. You can only aim through First-Person View.
Multiple GirdersYou can place more than one Girder per turn.
Dim-Mak (1st)The Prod Weapon will do a massive amount of damage.
No BombingYou can't use Weapons (like Dynamite) in conjunction with Transport Utilities.
Vital WormA single worm on your team is crowned vital. If they die, you lose.
Super Secret WeaponsA random weapon in your inventory will do more damage than normal.
Wind Affects WormsWind speed will affect worms while jumping or falling.
Slippy Mode (2nd)Worms will slide a bit after jumping or getting knocked around.
Sticky Mode (2nd)Worms will stick to the landscape well after jumping or getting knocked around.
David and Goliath (2nd)One of your worms will have more health than all of your other worms.
One Shot One Kill (2nd)Each worm will start with only one Health.
Quick Walk (3rd)Worms can move around much faster.
Tug O Worms (3rd)You can only use the Ninja Rope to transport yourself.
No Jumping (3rd)Self-explanatory. Worms can't jump around on the landscape.
Jumping Only (3rd)Self-explanatory. Worms can only get around by jumping.
Mine Respawn (3rd)
All Land Mines respawn near the position they exploded at and the landscape isindestructible.